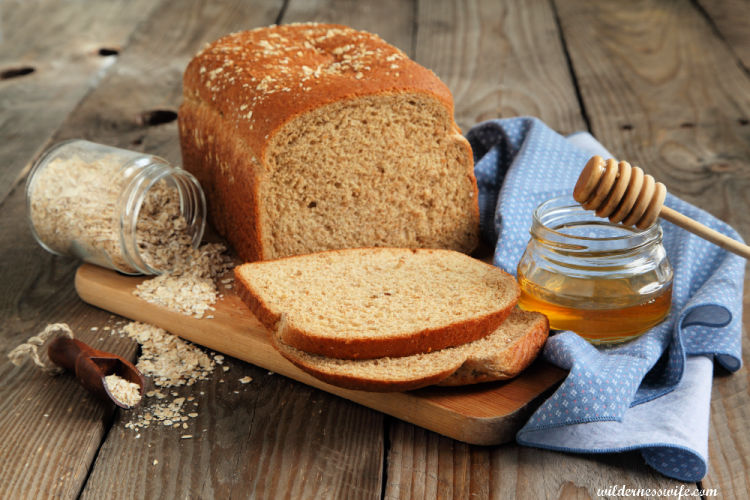
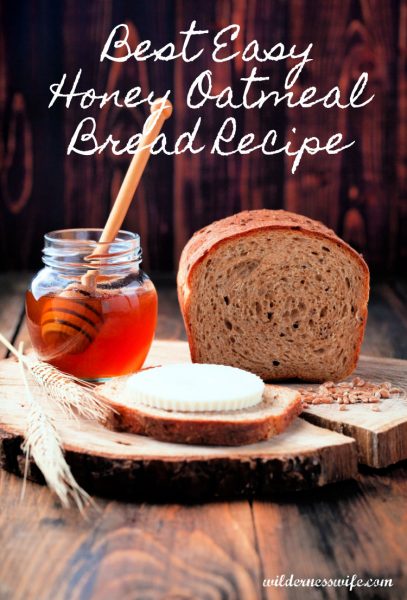
Making Homemade Bread with your KitchenAid Mixer is Easy
This KitchenAid Honey Oatmeal Bread Recipe is easy and delicious. Traditionally making homemade bread was a pretty laborious job. Kneading the bread was a real physical workout. And then KitchenAid added the “dough hook” to their stand mixer and making bread became a far more reasonable endeavor. The dough hook attachment is part of the standard mixer package and I use mine all the time as everybody in the Thompson family is a huge fan of homemade bread, particularly honey oatmeal bread.. The aroma of a yeast bread baking in the oven gets the whole family salivating in anticipation. So if this is your first yeast bread, take a deep breath, and then follow this easy honey oat bead dough recipe for a golden brown loaf of deliciousness!
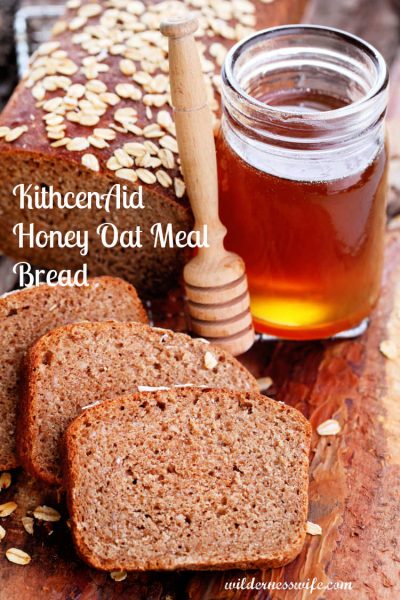
How to make Honey Oatmeal Bread with a KitchenAid Stand Mixer
Baking is a more exacting endeavor than regular cooking. Rather than a pinch of this or that, exact measurement and careful following of the recipe directions is critically important. For the best chance for success, always read your recipe thoroughly. Think the recipe through and gather all the ingredients and equipment you’ll need together. You will need both the paddle attachment and the dough hook for your stand mixer. Measuring cups and a wooden spoon, bowls, loaf pans and plastic wrap or a clean kitchen towel are also required.
Bread flour or All-Purpose flour – which is the best for this KitchenAid Honey Oatmeal Bread recipe?
As the name implies, bread flour is specifically designed to make bread. It has the highest protein content and therefore produces the most gluten which causes the bread to rise up rather than out. All purpose flour has less protein, but still more protein than cake flour has. You can make very good bread with all-purpose flour. I use it all the time in my bread baking as it is the most readily available in my rural area.

Which yeast is the best for baking bread– fresh yeast or active dry yeast?
The major difference between fresh yeast and active dry yeast is time. Fresh yeast (also known as cake yeast or baker's yeast) is quicker to use. One can sum up the differences between the two yeasts as follows:
Consistency - Fresh compressed yeast is a moist, crumbly consistency like feta cheese. Active dry yeast feels like corn meal.
Shelf life - Active dry yeast has a longer shelf life remaining usable for months at room temperature whereas fresh yeast must be refrigerated and should be used within a week or two.
Activation - Active dry yeast requires "proofing" before it can be added to the dough. This requires it to be dissolved in warm water and waiting till bubbles appear. Fresh yeast does not require this step.
Rising Time - The rising time differs also. Active dry yeast rises quicker and has a "larger" rise. For convenience, ease and time, I prefer active dry yeast.
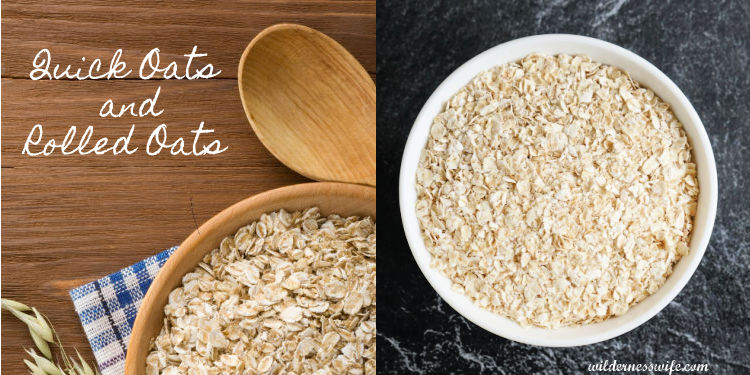
Which oats are better in the KitchenAid Honey Oatmeal Bread recipe - rolled oats or quick cooking oats?
For use in recipes, these oats are interchangeable. If you have rolled oats but the recipe calls for quick oats, just pulse the rolled oats in your blender a couple of times and they will be fine. And if its vice versa, don't fret. There might be a difference in final texture of your honey oatmeal bread but otherwise there will be no effect on this easy recipe.
Tips for successful bread baking
Proof your yeast. by mixing it with warm liquids and a sweetener. Mix the yeast, warm water, and sweetener together to dissolve the yeast. Make sure your water temperature is between 105F-115F. Water that is too hot will kill the yeast and water that is too cool will slow the blooming process. I even proof my yeast that is mixed with dry ingredients in recipe instructions by first taking a minimal amount (usually ½ teaspoonful) and mix with a ¼ cup of warm water (105F - 115F). Let it set for 5 minutes and you should see foaming and bubbling. This assures you that the yeast is alive and well. Discard the sample proofing and continue with your recipe.
Rise your bread at 70F. Your bread should rise in a warm place with no drafts. Cooler temperatures make for a more flavorful dough so in the heat of the summer try to keep your dough in an area that is around 70F consistently. After it has doubled in volume, punch dough down, divide the dough into 2 balls and shape into loaf pans, let rise a second time and bake in a preheated oven.
Bread is done when it reaches the internal temp of 185F to 200F. But the test I use is tapping on the loaf, and if it sounds hollow, it's done.
Calibrate your oven. If your recipes come out a little too dry, check your oven temp. Get a separate oven thermometer to make sure that you’re baking at the right temperature.
Cool your bread on wire racks so the air can circulate around it.
Its better with butter! Try brushing the tops of loaves with melted butter just before you put them in the oven to give the bread an even better homemade flavor. Don't over-knead the bread. No more than 6 minutes of low-speed kneading time with your stand mixer. Your bread dough should stretch about 2-4 inches if properly kneaded. It also should pull away from the mixer bowl sides.
Try these Wilderness Wife Bread Recipes:
KitchenAid Basic White Bread Recipe
KitchenAid Anadama Bread Recipe
Slow Cooker Multigrain Artisan Bread Recipe
Olive Oil and Rosemary Artisan Bread Recipe
Cranberry Pumpkin Seed Artisan Yeast Bread
PrintKitchenAid Honey Oatmeal Bread Recipe

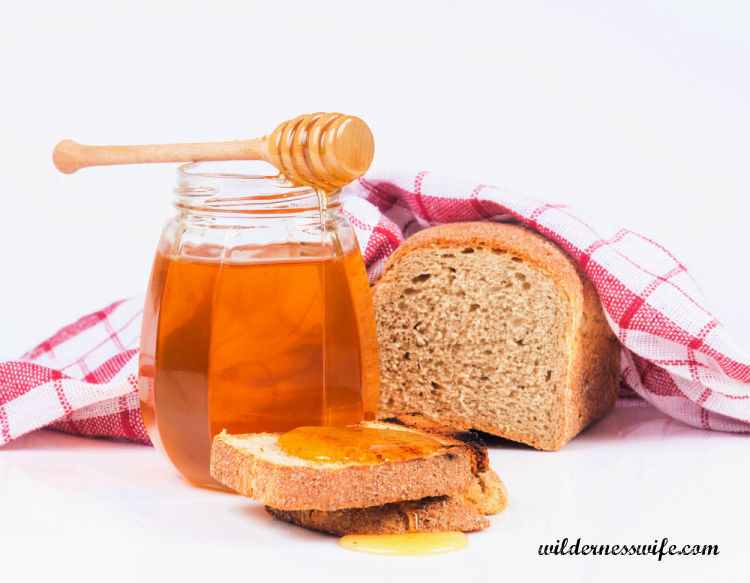
There's nothing like the aroma of a yeast bread in the oven wafting through the house and this Honey Oatmeal bread recipe tastes as good as it smells. In the words of that little doughboy, "Nothin' says lovin' like somethin' from the oven!"
- Prep Time: 25 minutes
- Cook Time: 40 min
- Total Time: 3 hours 5 minutes
- Yield: 2 loaves 1x
- Category: Bread
- Method: Bake
- Cuisine: American
Ingredients
5-6 cups all purpose flour
1 cup quick cooking oats
2 teaspoons salt
2 packages active dry yeast
1 ¾ cups water
½ cup honey
⅓ cup butter (or margarine, if you prefer)
2 eggs
1 tablespoon water
1 egg white
oatmeal
Instructions
Place 5 cups of flour, oats, salt, and yeast in bowl. Attach bowl and dough hook to mixer. Turn to Speed 2 and mix for 30 seconds.
Combine water, honey, and butter in saucepan; heat to 120F to 130F. On Speed 2, slowly add warm liquids to flour mixture, about 1 minute. Add eggs and mix an additional minute.
Continuing on Speed 2, add remaining flour, ½ cup at a time, until the dough clings to the hook and cleans the sides of the bowl, about 3 minutes. Knead on Speed 2 for 7 to 10 minutes or until the dough is smooth and elastic.
Place in a greased bowl, turning to grease the top. Cover, let rise in a warm place, free from draft, till doubled in bulk, about 1 hour.
Punch dough down. Divide dough in half. Shape each half into a loaf. Place each loaf in a greased 8 ½ x 4 ½ x 2 ½ inch loaf pan. Cover, let rise in a warm place, free from draft, till doubled in bulk, about 1 hour.
Combine water and egg white, Brush tops of the loaves with mixture. Sprinkle lightly with oatmeal. Bake at 375F for 40 minutes. Remove from pans immediately and cool on wire rack.

debbie b says
I had your delicious bread bread at a friend's house and she shared the recwith me. I'm just a little uncertain. Do I add 6 cups of flour but how much oats? or is it 5 cups of flour and 1 cup of oats? can't wait to use your recipe!
Sheryl Thompson says
In the first step you add 5 cups of all-purpose flour and the full cup of oats. Later in instructions you will see that you add the remaining flour 1 /2 cup at a time on Speed 2.
Debra says
Do you know if I need to tweak this recipe for a bread maker? I made your recipe the traditional way and love love it! Now I'm experimenting with a breadmaker. 🤞
Joy Faddis says
I made the Honey Oat bread today and it came out perfect. It was the first time using my KitchenAid standing mixer to make bread. It was very easy. I appreciate the tips and everyone's comments. I will make again and try other recipes from this site. I'm not sure how to add a picture or I would.
Sheryl Thompson says
Thanks for letting me know that you enjoyed it!
Barbara Norris says
Can you substitute regular rolled oats for the quick cooking ones?
Sheryl Thompson says
I have never done the alternative and have always used the quick cooking oats. All I can say is experiment.
durinda L wearn says
Just made today! Turned out beautiful!
Sheryl Thompson says
Hooray! It is a very good recipe and always has consistent outcomes for me too! Glad you enjoyed it.
Debra says
Your recipe says 6-6 cups of all purpose flour. Will you please explain or is this a typo?
Sheryl Thompson says
Yes, it is a typo and I appreciate your pointing that out so I can correct it. Baking I am good at but my typing skills leave a lot to be desired. It should read 5-6 cups of flour. Thank you!
Marsha says
Haven't tried them yet but they look delicious. It took just over 3 hrs for them to rise after I made the loafs. Not sure why this is happening. I made a different bread recipe 4x and 3 out of the 4 tries the bread would not rise after making the loafs ( I used the kitchenaid the 3x) the last try I did the by hand method and it worked. I will be trying your other bread recipes! How long does the honey oat bread have to cool before slicing it? Thanks for sharing your recipes 😊
Sheryl Thompson says
I let it cool thoroughly so that it will slice nicely. If its sliced too soon the loaf sort of "smooshes" down under the pressure of the knife. I wait 4-5 hours foe it to cool before slicing. Be sure to use a serrated knife to slice bread.
Tamra says
Can I substitute whole wheat flour?
Sheryl Thompson says
I have never tried it so I honestly can't tell you that it will be okay. The white bread recipe I use differs from the wheat bread recipe I use so the flours respond differently. Sorry, I have no answer for you except experiment and let us know how it turns out!
Brenda Jennings says
Can't wait to make this bread
Marino Simone says
Super easy recipe, beautiful breads!
Sheryl Thompson says
Thank you and I am glad you enjoyed them!
Kathryn says
It came out perfect & only had to bake for 20 minutes.
Thanks for clarifying the yeast issue. Be well
Sheryl Thompson says
Glad I could be of help.
Glenda Gilliam says
Thank you so very much for info on yeast. I am making this bread today. I am loving my new kitchenaid mixer for bread making. I made your white bread recipe and it was wonderful. Can't wait to try all your recipes.
Glenda says
Do you not proof rhe yeast first? The recipe says to add yeast along with the flour, Oats etc. Then add warmed water, butter and honey mixture.
I'm confused
Sheryl Thompson says
Yikes! I'd even be confused by my instructions too. Thanks so much for getting in touch and letting me know. I think I should hire you as my proofreader.;-) I have gone back and corrected the post to show "I even proof my yeast that is mixed with dry ingredients in recipe instructions by first taking a minimal amount (usually 1/2 teaspoonful) and mix with a 1/4 cup of warm water (105F - 115F). Let it set for 5 minutes and you should see foaming and bubbling. This assures you that the yeast is alive and well. Discard the sample proofing and continue with your recipe." Some recipes will call for yeast to be added to dry ingredients and some want it added to liquid. Because this recipe wants the liquids heated above the range that is safe for yeast to live (to dissolve the honey)you "pre-proof" to make sure its viable. Thank you so much for taking the time to let me know about the confusing and conflicting info!!
Laura Norton says
Where is the recipe for the honey oat bread? Other pages show the recipes, but this one doesn't show it or have a "jump to recipe" option. It looks delicious, and I'd like to make it! Thank you!
Sheryl Thompson says
OOOPS!!!!! Thank you for letting me know. We have been having some problems during a software update. The recipe is there now so be sure to check it out and share it with your friends!